How to lean your docker image
Published:
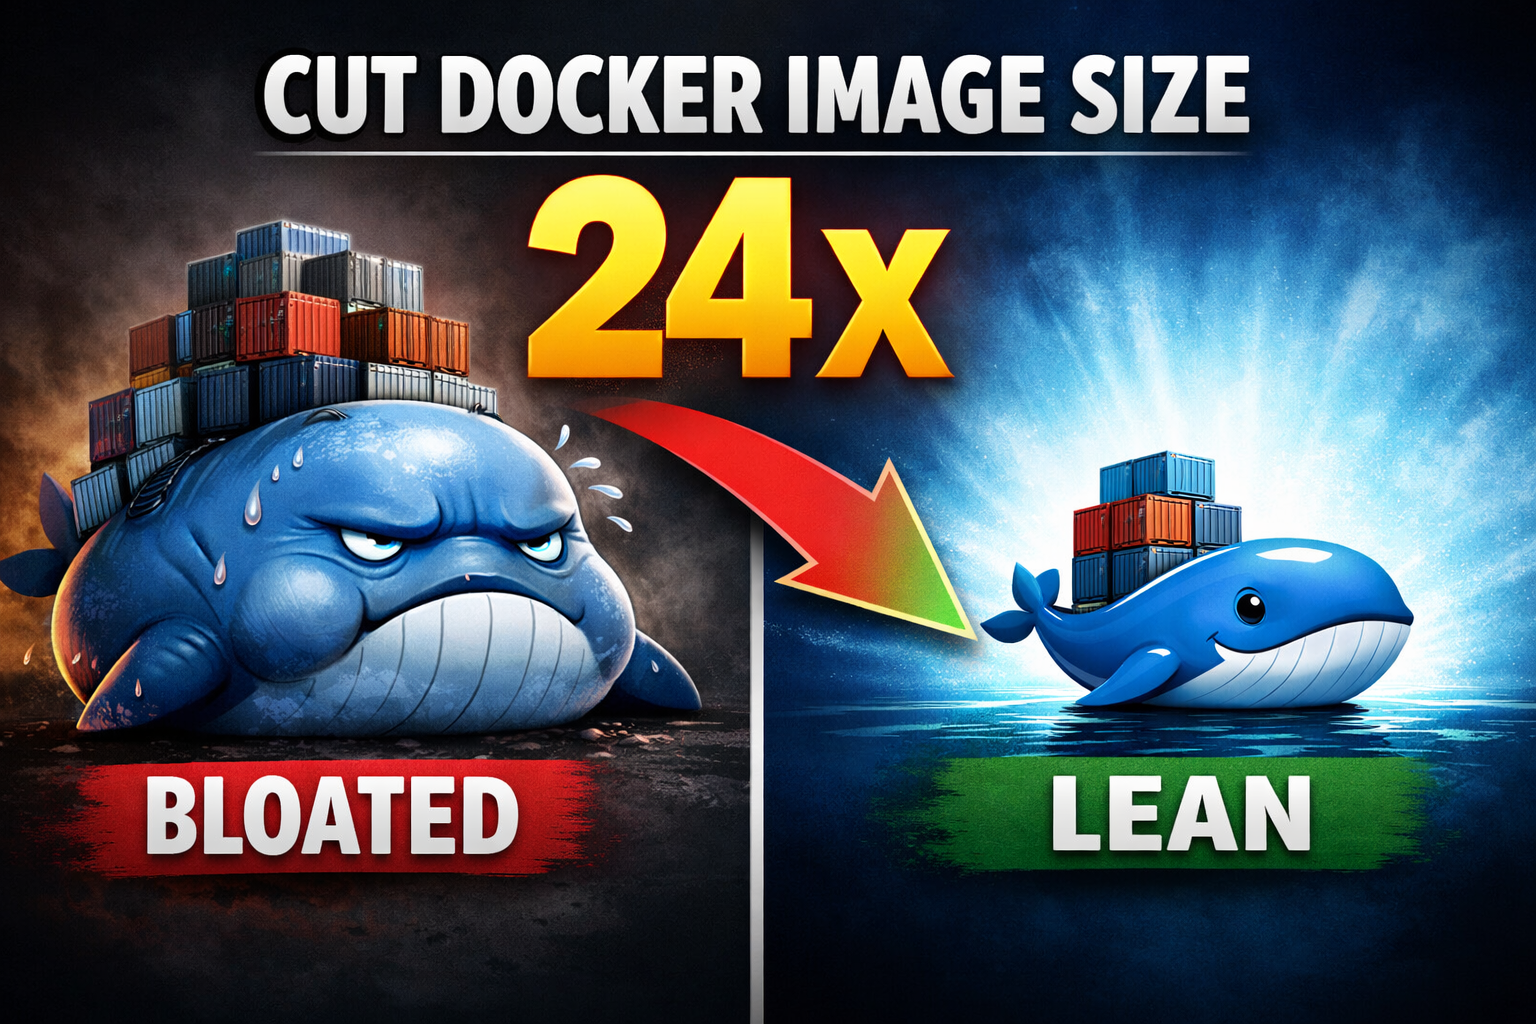
From Bloated to Lean: How to cut Docker Image size by 24×
Docker is fun at least in the beginning. You spin up containers effortlessly, builds complete in seconds, and everything just works and not just your environments it works everywhere. During development, Docker feels almost magical.
Then one day, your disk is full and you run the docker system df to realize what’s eating up all that space, it’s all the docker artifacts (images, container, caches)

So 1. Build Cache is something we can get rid of easily by running docker builder prune -a -f command and it will remove all the dangling cache images, these are mostly from old and failed build over the time.
Next two 2. Containers and 3. Local Volumes are the space used by the running containers (services) and typically they don’t take that much space unless you host a local DB and it is not bind to a external path. Therefore no need to touch this 2 options.
Among all four 4. Images is where optimization really pays off and they are in our hands to do the nitty gritty.
1. Base (Bloated)
The API project I have chosen is a tool that take a piece of text and classify the sentiment using a Financial Bert model. The model is local there for the model artifact itself is a part of the image.

By running docker system df -v | grep image_name you will be able to see the image size. As you can see it starts with 3.13GB size. Following is the Dockerfile I used to create this image, which i will use to tinker and get better results.
FROM python:3.11-slim

WORKDIR /app
COPY app/ ./app/
COPY app/requirements.txt .

# Copy model folder into the container
COPY ./.models /app/models

# Install dependencies & system libs
RUN apt-get update && apt-get install -y \
	build-essential \
	poppler-utils \
	&& rm -rf /var/lib/apt/lists/

# Install PyTorch CPU version
RUN pip3 install --no-cache-dir torch torchvision --index-url https://download.pytorch.org/whl/cpu

# Install remaining Python dependencies
RUN pip3 install --no-cache-dir -r app/requirements.txt

EXPOSE 8001

CMD ["uvicorn", "app.main:app", "--host", "0.0.0.0", "--port", "8001"

What you see is a typical vibe-coded Dockerfile which I generated using copilot just so that I can get my API up and running. I put little to no effort to optimize this image but the copilot applied some basic optimization lines like using a slim base instead of the heavy image and removing Linux package list and disabling cache during the pytorch installation.
In the rest of the article, I’ll walk through a series of steps to optimize a Docker image. If you feel like following along, stick with me at each step I’ll log the image size and build time so you can clearly see how much improvement we’re making.
| Metric | Value |
|---|---|
| Build Size | 3.13 GB |
| Build Time | 499 s |
2. Better Base Image
- FROM python:3.11-slim
+ FROM python:3.11-slim-bookworm

WORKDIR /app
COPY app/ ./app/
COPY app/requirements.txt .

# Copy model folder into the container
COPY ./.models /app/models

# Install dependencies & system libs
RUN apt-get update && apt-get install -y \
	build-essential \
	poppler-utils \
	&& rm -rf /var/lib/apt/lists/

# Install PyTorch CPU version
RUN pip3 install --no-cache-dir torch torchvision --index-url https://download.pytorch.org/whl/cpu

# Install remaining Python dependencies
RUN pip3 install --no-cache-dir -r app/requirements.txt

EXPOSE 8001

CMD ["uvicorn", "app.main:app", "--host", "0.0.0.0", "--port", "8001"

| Metric | Value |
|---|---|
| Build Size | 3.11 GB |
| Build Time | 499 s |
Instead of starting with a heavy base image, you can switch to a lighter alternative available on Docker Hub. Try different images and choose the one that best fits your use case. In my case, I had already selected a slim base image, so the size reduction wasn’t dramatic but even small gains are worth it. After each change, make sure your application still runs as expected, since some optimizations can break functionality.
3. Don’t install unnecessary packages
However, before creating a production-ready image, it’s important to understand exactly which binaries your application actually requires, rather than installing every possible package.
In my case, I removed torchvision since it isn’t required to load the BERT model, and enabled –no-install-recommends so only the essential packages are installed. I also removed poppler-utils, which was left over from an earlier project and is no longer needed for this build.
FROM python:3.11-slim-bookworm

WORKDIR /app
COPY app/ ./app/
COPY app/requirements.txt .

# Copy model folder into the container
COPY ./.models /app/models

# Install dependencies & system lib
- RUN apt-get update && apt-get install -y \
+ RUN apt-get update && apt-get install -y --no-install-recommends -y \
	build-essential \
-	poppler-utils \
	&& rm -rf /var/lib/apt/lists/

RUN apt-get update && apt-get install --no-install-recommends -y \

    build-essential \

    && rm -rf /var/lib/apt/lists/* \

    && apt-get clean

# Install PyTorch CPU version
- RUN pip3 install --no-cache-dir torch torchvision --index-url https://download.pytorch.org/whl/cpu
+ RUN pip3 install --no-cache-dir torch==2.5.1+cpu --index-url https://download.pytorch.org/whl/cpu

# Install remaining Python dependencies
RUN pip3 install --no-cache-dir -r app/requirements.txt

EXPOSE 8001

CMD ["uvicorn", "app.main:app", "--host", "0.0.0.0", "--port", "8001"


| Metric | Value |
|---|---|
| Build Size | 2.79 GB |
| Build Time | 330 s |
4. Changing the package handler
We’ve significantly reduced the image size, but the next focus is build speed. While pip is reliable, it can become a bottleneck as projects grow and dependency resolution becomes more complex. A faster alternative is uv, which resolves dependencies in a fraction of the time and also supports lock file generation for reproducible builds.
FROM python:3.11-slim-bookworm

WORKDIR /app
COPY app/ ./app/
COPY app/requirements.txt .

# Copy model folder into the container

COPY ./.models /app/models

# Install dependencies & system libs
RUN apt-get update && apt-get install -y \
	build-essential \
	poppler-utils \
	&& rm -rf /var/lib/apt/lists/

# Install PyTorch CPU version
- RUN pip3 install --no-cache-dir torch torchvision --index-url https://download.pytorch.org/whl/cpu

# Install remaining Python dependencies
- RUN pip3 install --no-cache-dir -r app/requirements.tx

# Install uv tool
+ COPY --from=ghcr.io/astral-sh/uv:latest /uv /usr/local/bin/uv

# Install PyTorch CPU version
+ RUN uv pip install --no-cache-dir torch==2.6.0+cpu --index-url https://download.pytorch.org/whl/cpu

# Install remaining Python dependencies
+ RUN uv pip install --no-cache-dir -r app/requirements.txt

EXPOSE 8001

CMD ["uvicorn", "app.main:app", "--host", "0.0.0.0", "--port", "8001"


| Metric | Value |
|---|---|
| Build Size | 3.24 GB |
| Build Time | 169 s |
As you can see the the build time has reduced significantly from 330 seconds to 169 seconds but the size of the images has increased bit more for the addition of uv library but no need to worry this will be addressed by multi stage building.
5. Multi Stage building
This is a clever way to eliminate unnecessary bloat from your final image. By using a multi-stage build, you can dedicate the first stage to installing dependencies and building the required binaries, and you move them to the second stage and to run your application with only those binaries on the smallest possible base image which I have done.
## ----------------- Builder Stage ----------------- ##
- FROM python:3.11-slim-bookworm
+ FROM python:3.11-bookworm AS builder

# Install dependencies & system libs
RUN apt-get update && apt-get install -y \
	build-essential \
	poppler-utils \
	&& rm -rf /var/lib/apt/lists/

- WORKDIR /app
- COPY app/ ./app/
- COPY app/requirements.txt .

# Copy model folder into the container
- COPY ./.models /app/models

# Download the uv tool from the ghcr.io registry
+ COPY --from=ghcr.io/astral-sh/uv:latest /uv /usr/local/bin/uv

+ WORKDIR /app
+ COPY pyproject.toml .

# Set up the UV environment path correctly
+ ENV PATH="/root/.local/bin:$PATH"

# Install remaining Python dependencies
+ RUN uv sync

# Install PyTorch CPU version
RUN uv pip install --no-cache-dir torch==2.6.0+cpu --index-url https://download.pytorch.org/whl/cpu

## ----------------- Production Stage ----------------- ##
+ FROM python:3.11-slim-bookworm AS production

# Install remaining Python dependencies
- RUN uv pip install --no-cache-dir -r app/requirements.txt

# Handling the run user
+ RUN useradd --create-home appuser
+ USER appuser

# Copy application code and paths
+ WORKDIR /app
+ COPY app/ ./app/
+ COPY ./.models /app/models
+ COPY --from=builder /app/.venv .venv

# Set up environment variables for production
+ ENV PATH="/app/.venv/bin:$PATH"

EXPOSE 8001

CMD ["uvicorn", "app.main:app", "--host", "0.0.0.0", "--port", "8001"


| Metric | Value |
|---|---|
| Build Size | 2.31 GB |
| Build Time | 181 s |
With a multi-stage build, we’ve reduced the image size to 2.31 GB and most of that space is taken up by the model artifact alone (around 1.3 GB). By removing the model from the image and mounting it at container startup instead, we can shrink the image even further.

| Metric | Value |
|---|---|
| Build Size | 1.01 GB |
| Build Time | 18 s |
Note: To shrink the image even further, you could convert the model to ONNX object during build time and use ONNX Runtime for inference in the production stage this avoids installing PyTorch altogether. However, this is not common for everyone, so it’s beyond the scope of this article.
You will end up with…
- Lightweight builds
- Quick builds
- Better security
- Faster startup time eg: faster Kubernetes pod startup
- Reduced I/O overhead for registry servers